


Install H2O's Wave on AWS Lightsail or EC2
How to set up Wave, H2O's new open-source Python-based app framework

I recently had to set up H2O’s Wave Server on AWS Lightsail and build a simple Wave App as a Proof of Concept (POC). H2O Wave is an open-source Python-based app framework and we use it to build many different kinds of interactive applications at H2O.
Wave ships with a deployment server that uses Uvicorn but it can run on any ASGI server. If you’ve developed with FastAPI, then using Wave will make a lot of sense.
AWS Light Sail Instances & Plans
The first step is to go AWS Lightsail and select the OS-based blueprint. I selected my favorite distro of Linux: Ubuntu 20+.
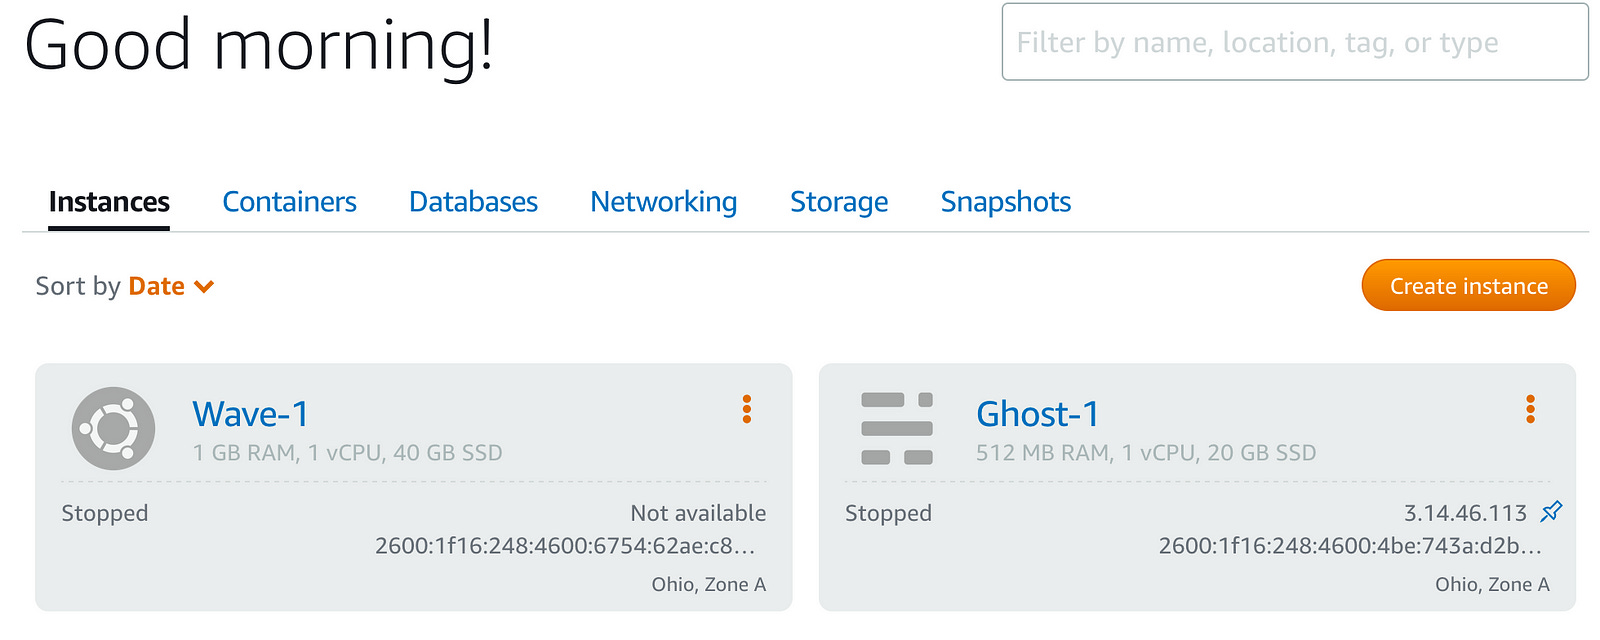
Then I attached an instance size, I opted for the $5 a month plan. The instance is considered tiny, it has 1GB memory, 1vcpu, with 40 GB storage.
Also, make sure that you’re in the right AWS region for your needs.

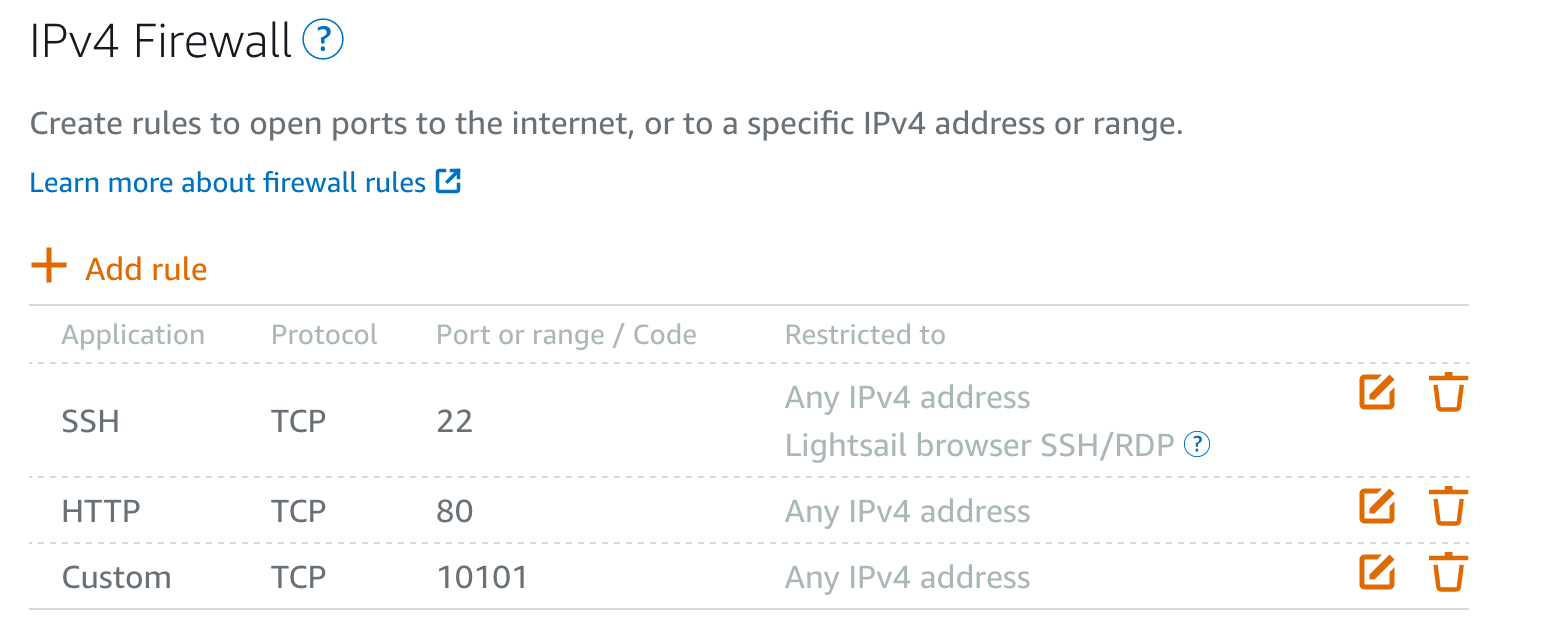
NOTE: YOU WILL NEED TO OPEN PORT 10101! Just navigate to Manage > Networking on your instance and add a custom TCP port to 10101, like so:
Connect with SSH and install the required Python libraries
Ubuntu 20+ comes preloaded with a lot of stuff, like Python 3, but you’ll need to update & upgrade the instance first before installing the required libraries.
On AWS Lightsail you can click on the ‘Connect with SSH’ button on your instance card. That will open up a nice terminal where you can run the following commands.
First, run these commands:
sudo apt-get install updates
sudo apt-get install upgrade
Then install pip, virtualenv by doing:
sudo apt-get install python3-pip -y
sudo apt install python3-venv -y
Once you’ve done that, your instance should be ready to download the latest Wave Server release!
Download the Wave Server and Install it
Grab the latest version of Wave (as of this post, it’s v1.5.1). Make sure you grab the right install package. Since we are on Linux, download the ‘wave-1.5.1-linux-amd64.tar.gz’ package.
I did a simple ‘wget’ in the /home/ubuntu directory like this:
https://github.com/h2oai/wave/releases/download/v1.5.1/wave-1.5.1-linux-amd64.tar.gz`Then I unzipped it using the following command:
tar -xzf wave-1.5.1-linux-amd64.tar.gz
Once I did that I had a directory in my /home/ubuntu directory called ‘wave-1.5.1-linux-amd64’.
Running the Wave Server
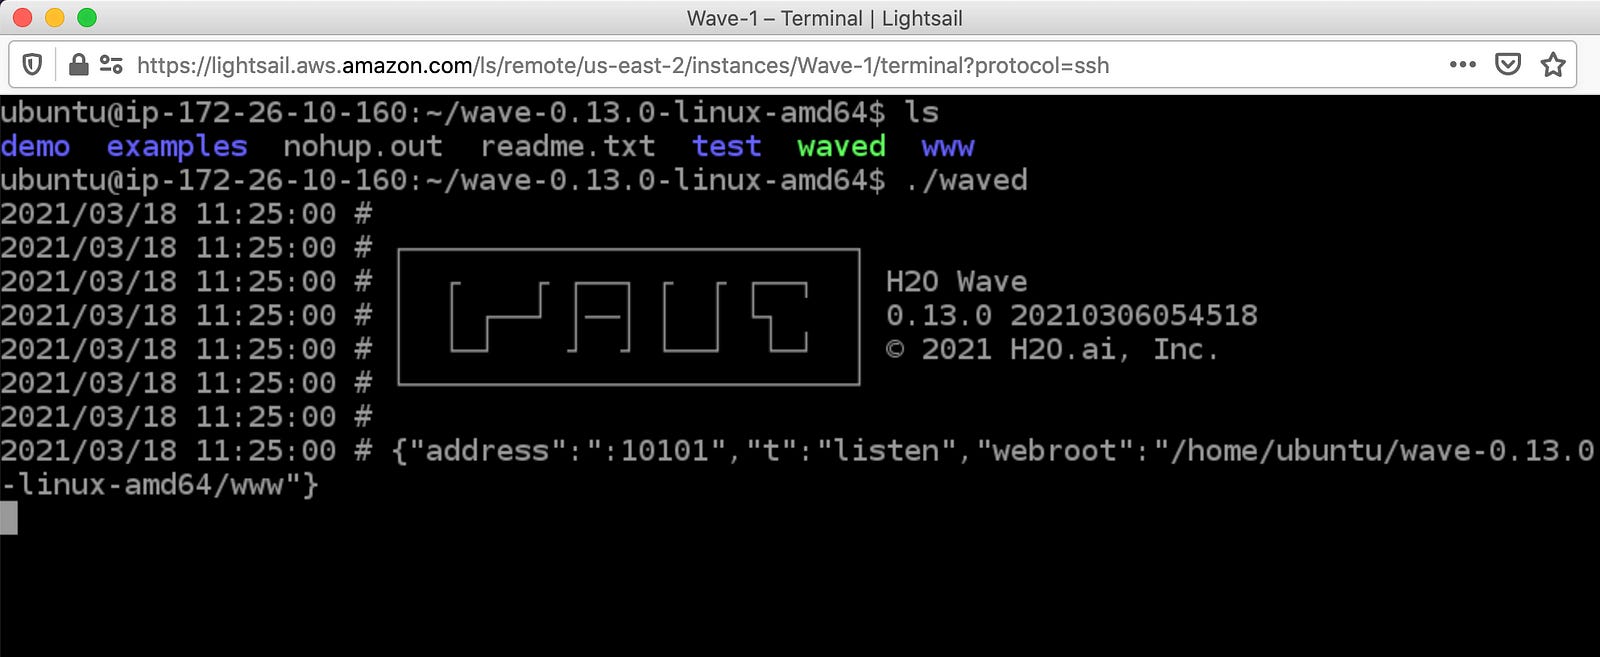
CD into the wave-1.5.1-linux-amd64 directory after you unzipped the package. Once you’re in there you just need to run the following command to start the Wave Server
Run ./waved
The Wave Server should spin up and you should see similar output below.
Setup Your Apps Directory
The neat thing about Wave is building all the apps. To do so and for best practices, we create an apps directory. This is where you’ll store all your apps and create a virtualenv to run them in.
First, you’ll have to CD back to your home directory, make an apps directory, and then CD to the apps directory.
cd $HOMEmkdir appscd appsOnce you’re in the /home/ubuntu/apps directory you’re going to set up a virtual environment and write your app!
First set up a virtual environment called venv
python3 - m venv venvNext, initialize the virtual environment by running:
source venv/bin/activateInstalling Wave for your app
You will install any Python libraries or dependencies into the virtual environment. My suggestion is to put those dependencies into a requirements.txt file and then do a simple pip3 install -r requirements.txt
Make sure to do a pip install h2o-wave as part of your requirements.txt or at the command line. You will need that library.
The next step is to create a src directory where you will store the source (src) code of your app. This base app directory is a great place to put all sorts of things for your app, like images and requirements.txt.
Running your Wave App
Once your apps directory and virtual environment are set up, it’s time to create and run your Wave App.
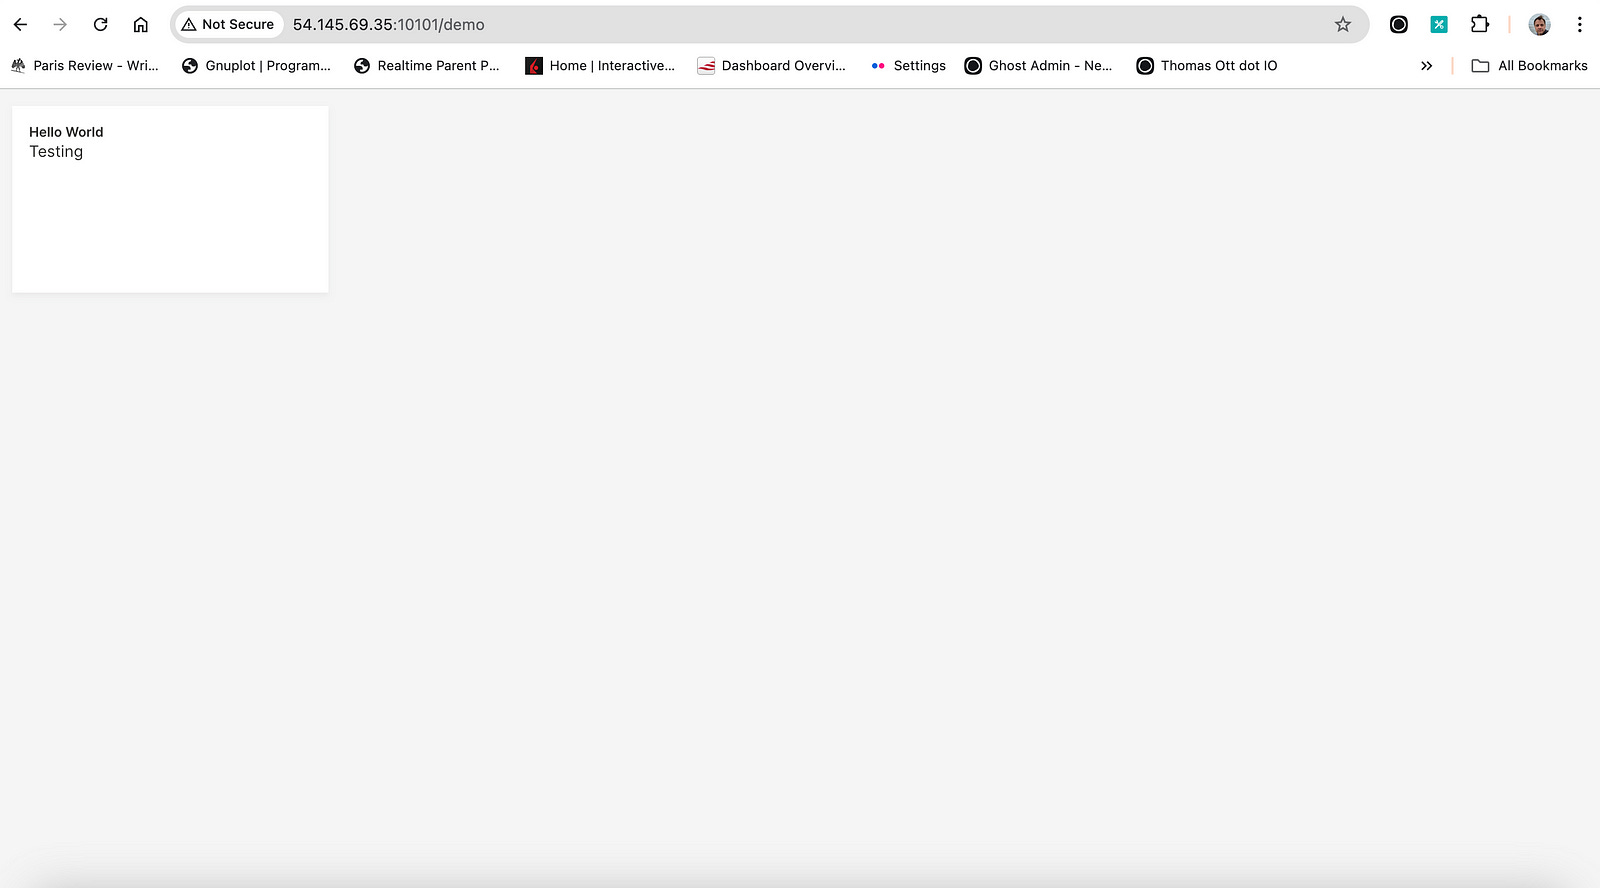
I created a simple Hello World app that runs on my-IP-address:10101/demo and the code looks like this. You can use Nano or VIM to create the app.py file.
# Import `Site` and the `ui` module from the `h2o_wave` package
from h2o_wave import site, ui, main
)
# Get the web page at route '/demo'.
# If you're running this example on your local machine,
# this page will refer to http://localhost:10101/demo.
page = site['/demo']

# Add a Markdown card named `hello` to the page.
page['hello'] = ui.markdown_card(
    box='1 1 2 2',
    title='Hello World!',
    content='And now for something completely different!',
)

# Finally, sync the page to send our changes to the server.
page.save()
Then to run the app, it’s a simple command like:
wave run app.pyIf it spins up without any errors, navigate to your instance’s IP address:10101/demo and see your app!
Automating a Wave Server and APP
Two things happen when you run a Wave Server and Wave App: one, you need to start up the server, and two you need to have the Wave App run inside a virtual environment.
That’s a lot of moving parts but it can be an active virtual environment to install upon your instance’s bootup.
Here’s a simple bash script I wrote to run the Wave Server in the background and make sure my stock app is running inside the virtual environment and is reachable.
#!/bin/bash
cd wave-1.5.1-linux-amd64
nohup ./waved &

cd /home/ubuntu/apps/helloworld
source venv/bin/activate
nohup wave run --no-reload app.py &
Make sure to chmod +x mystartupscript.sh and save it.
Note the --no-reload part. When Wave is in dev mode it scans the directories of where your apps are for any code changes. In production, you want to disable that because it can use up CPU power!
That’s it!
Next Steps
Of course, this example is a very simple ‘Hello World’ one and there is much more to make any app more resilient for the web. We need basic things like SSL certification, authentication, fixing the ports so you don’t have to type :10101, and other deployment-related things. That will be for another post altogether.